Sunday, January 29, 2012

Venison Medallions 
with a Beef, Red Wine, and Black Raspberry Glacé

The Foodie Boyfriend gave us some venison medallions
that he had in turn received from a friend of his.

Thank you, friend of Foodie Boyfriend!

Venison medallions are cut from the tenderloin,
or backstrap.
As with other four legged animals,
this cut of meat does little work,
so the muscle is lean and tender.

Venison medallions should be cooked to medium-rare
so that they can be enjoyed at their best.


Five venison medallions
kosher salt
freshly cracked black pepper
1 cup beef stock
1 teaspoon tomato paste
1/4 cup dry red wine
1 tablespoon black raspberry preserves
3 tablespoons unsalted butter, divided

Salt and pepper the venison and let the venison air dry.  About 20 minutes before cooking, bring the meat out of the fridge and let the meat come to room temperature.

Pour the stock, tomato paste, and the wine into a saucier and reduce over high heat for about 15 minutes, or until the mixture has reduced by about about half.  Stir in the black raspberry preserves and allow to reduce further.  When the sauce has reduced to your liking, whisk in 1 tablespoon butter.  Taste and add in a bit of salt if needed.

Keep warm while you prepare the meat.

In a large nonstick skillet over high heat, melt 2 tablespoons butter.  Once the butter stops steaming, add the venison.  After 2 minutes, turn.  Give the other side another 2 to 3 minutes.  Remove from the pan, plate, cover, and allow to rest for five to ten minutes before serving.


 The sauce is reducing.


 Whisk in the butter.


 The sauce is ready.


 The venison medallions go into the skillet.


 Plating.


Perfectly cooked.

This was good.  This was sublime.  Do not overcook venison.  If you didn't know it, you might think that you were eating beef - except that there is that certain je ne c'est quoi there in the background, on the back of your tongue, tickling your tastebuds.

Now, if I could just figure out how to make a thick, non-gravy-like glacĂ©.  I need to work on that.
Cod Gratin

I found a package of cod that was discounted 
as it was close to the expiration date.
As a result of smart shopping
I saved $3.70 on this package
of perfectly good cod.

Don't be afraid to purchase food
that is marked down for quick sale.
Just be sure to either use it right away
or put it in the freezer when you get home.
You will have saved money 
and saved food from being thrown away.


 I started with a recipe from Ina Garten for Bay Scallop Gratin and jumped ship from there.

Cod Gratin

4 cod fillets
3 tablespoons butter, room temperature
3 cloves garlic, grated
1 scallion
1/2 teaspoon lemon zest
1 teaspoon kosher salt*
1/4 teaspoon freshly cracked black pepper
3 tablespoons extra virgin olive oil
1/4 cup panko
3 tablespoons dry white wine
*This amount will be cut back to 1/2 teaspoon in the future


Preheat the oven to 425 degrees.

Finely mince the white part of the scallion and chop the green part of the scallion.  Set the green part aside for use as garnish at the end.

Place the butter, garlic, minced white scallion, lemon zest, kosher salt, and black pepper in a medium bowl.  Mix on low speed with a hand mixer until creamy.  Slowly pour in the olive oil until well blended.

With a spoon or spatula, stir in the panko.

Pour the white wine into the bottom of a baking dish and place the cod in the dish.  Spoon the gratin mixture over the top of the cod pieces.

Bake in the oven for about 20 to 25 minutes or until no longer translucent.  The time will vary, depending upon the thickness of the fish.  If desired, the dish can be placed under the broiler for the last couple of minutes.

Top the finished dish with the chopped green scallions.
 

 The butter/olive oil is mixed together.


 And the panko is mixed in.


 The gratin is placed on the fish before the cod goes into the oven.


 Out of the oven and ready to be served.


 Roasted green beans with bacon accompany our fish.


Dinner is served.

And how was this?
My husband still thought that there was too much lemon in the dish.  The Foodie Daughter and I thought there was too much salt in the topping.  So much salt that we couldn't taste anything but salt, and certainly not lemon.  The men didn't mind the salt.

I will make this again, but I will cut back on the salt, probably to 1/2 teaspoon. 

Friday, January 27, 2012

A Special Treat for Dinner

Thursday night the Foodie Boyfriend was not with us,
so as I was out shopping for groceries,
I was trying to decide what we could have to eat for dinner
that evening.
Perhaps something that we couldn't partake of when he
was around, due to his shellfish allergy?

But what?
I had forgotten to take a container of our wonderful
gulf shrimp out of the freezer
and any store-bought shrimp would be vastly inferior in quality,
so that was out.

And then I spied it.
My quarry.


 The elusive Manager's Special,
AKA, meat that is near its expiration date.

But look at the price reduction!
Two Maine lobster tails for $8.38 versus the original $13.98.
What a deal for land-locked Southern Indiana.
I grabbed two of these packages and
hissed loudly at anyone who dared near my cart.*

I apologize for the lack of preparation pictures,
but I hadn't planned on blogging this dinner.
Then the Foodie Daughter came into the room,
gave me 'That Look,' and said "you are blogging this, Mother."
Erm, yeah, of course I am blogging this.

*An over-dramatization of the event, to be sure.  Or is it?

If you were to ask me what my last meal were to be,
I would tell you that it would have to be lobster. 
I love those aquatic arthropods.

I find it quite amazing and somewhat
shocking that in colonial America, 
lobsters were so plentiful and considered to be so pedestrian
that the indentured servants
and slaves protested against being fed lobster so often.
And before that, the Native Americans used lobsters 
as fertilizer for their crops.
What were they thinking?


 The first step was to turn the little bug's tails on their backs and 
using a sharp chef's knife,
cut down the middle of the tail.

It is helpful to use the tip of the knife
to puncture the underside of the shell 
and then to place the heel of the other hand
on the back of the knife to press the knife through
the flesh and the hard upper shell.
If needed, use kitchen shears to cut the shell apart.

Season with sea salt and freshly cracked black pepper.


Heat a large non-stick skillet over medium-high to high heat.
Add 1 tablespoon butter and 1 tablespoon olive oil to the skillet.

When the butter is bubbling, add the lobster, meat side down.

Allow to cook through for just a couple of minutes.
Lobster is like any other shellfish - it cooks very quickly -
and you don't want to overcook it.
Turn over and cook for another minute or so.


Serve with melted butter,
clarified if you are really feeling fancy,
 and rice salad.
Now I'm happpy.

Thursday, January 26, 2012

The Cat's in the Bag

The Foodie Daughter ordered a new
bag to replace one that had broken
and Minx immediately had to check it out.


 "Hmm, it's spacious..."


 "Lots of inside pockets..."


 "Comfy, and..."


 "Hey, why you looking at me?"


Gotta love those curious kitties.

Photo credit goes to the Foodie Daughter
and her iPhone.  Mwah!

Wednesday, January 25, 2012

Homemade Ice Cream

Some people in the Foodie Household
have been complaining about the lack
of ice cream in the freezer.

My answer was that there is a 16 pound ham
taking up an entire shelf in my freezer
and there has been no room for ice cream.

However, I decided to be nice and provide ice cream
despite the shortage of extra-cold storage.
Luckily there is still some room to move things
around in my larger refrigerator.

So, this past weekend
I made ice cream.
If you are going to fulfill a wish,
you might as well do it right.


Homemade Vanilla Ice Cream

3 cups Half & Half
3/4 cup granulated sugar (I used my stash of vanilla bean sugar)
1 - 2 teaspoons pure vanilla extract, to taste

The day before making ice cream, place the freezer bowl in the freezer.

In a medium bowl, combine the ingredients and mix with a hand mixer or whisk until the sugar is dissolved.

Turn the ice cream machine on and pour the mixture into the bowl.

Let the machine run 25 to 30 minutes, or until the mixture has thickened.

Transfer the ice cream to a covered storage container and place back into the fridge if a firmer consistency is desired. 


The machine whirls away.  I like the sound the machine makes as it works.


The ice cream is still soft at this point.


The person who was clamoring for ice cream had canned peaches (the good kind) on his ice cream.

If you don't have an ice cream machine, you really ought to consider getting one.
Making ice cream is easy and you can control what is in your ice cream.  No guar gums or cellulose gums here.  Just the good stuff.

Monday, January 23, 2012

Welcome the Year of the Dragon

Today marks the beginning of the Lunar New Year,
better known as Chinese New Year.

The Chinese zodiac assigns an animal to each year
and this runs in a twelve year cycle.

We decided to make a stir fry tonight to celebrate.


 Pork and veggies with ramen noodles
in a Korean barbecue sauce.


The ingredients for the stir fry:

Leftover pork loin in an applesauce and sherry sauce, cubed
ramen noodles
red onion, diced
carrot, peeled and sliced into diagonal coins
celery rib, diced
1/4 cup red bell pepper, chopped
green onion, sliced into 1/2 inch diagonal pieces
1 clove garlic, grated
Korean BBQ Sauce
Honey
Plum Sauce, not shown

Whenever making a stir fry, it is important to have all the ingredients prepped and ready to go before you turn on the heat.  Once the skillet was hot, the dish cooked in about five minutes.

In the microwave, heat 2 cups water in a microwave safe dish to boiling.  Crush up the ramen noodles in the bag and add the noodles to the hot water.  Allow to sit for a couple of minutes, or until the noodles are soft.

Mix a bit of the Korean BBQ Sauce, honey and plum sauce to the remaining apple sauce and sherry sauce from the pork.  Stir and taste.  Adjust amounts until you are satisfied.  You will need about 1/4 cup sauce.

Meanwhile, heat 2 tablespoons of canola oil over medium high heat in a large skillet or wok. 

Drain the noodles and add them to the skillet.  Heat through for a couple of minutes.  Remove the noodles from the pan and add more canola oil. 

Add the carrot, celery and red onion and saute for about a minute.  If desired, you can add about 1 teaspoon of sugar to help the veggies caramelize.  Add the garlic at the very end.  Stir and remove the veggies from the skillet and add more canola oil if needed.

Put the pork in the skillet and let the meat heat through.  Add the noodles and the cooked veggies back into the skillet.  Add the bell pepper and the green onion.

Turn off the heat and pour the sauce over the dish.  Stir to mix in.

Serve immediately.


The ingredients for the sauce.  I added these to the remaining apple sauce and sherry sauce from the pork loin, but you could simply use these or add your own extras to make your own unique sauce.


 The veggies are prepped and ready to go.


 The ramen noodles soak in the hot oil for just a minute or two.


 Before they go into the skillet.


 Then it is time for the veggies.


 These only need to be heated through.  You don't want them to become limp.


Then the pork, which was already cooked, went into the skillet.  Again, the goal was simply to heat the food through.


 Add everything back into the skillet and toss together before pouring on the sauce.


 A light touch with the sauce ensures that the dish is not overpowered.


Easy, tasty and colorful. 

Happy Lunar New Year!

Sunday, January 22, 2012

An Italian Dinner

This weekend I decided to make an Italian Dinner.
Yes, it was good enough to warrant capital letters.

First up was focaccia.


 I started off with Anne Burrell's focaccia recipe
but I couldn't leave well enough alone
and decided to change out the toppings.

Hey, what else did you expect from me?

The ingredients:

Bread
  • 1 3/4 cups warm water(100 - 110 degrees)
  • 1 package active dry yeast
  • 1 tablespoon sugar
  • 5 cups all-purpose flour, plus additional for kneading
  • 1 tablespoon kosher salt, plus coarse sea salt, for sprinkling
  • 1 cup extra virgin olive oil, divided
Toppings
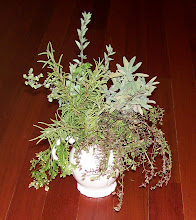
  • 1 tablespoon fresh rosemary, chopped
  • 1 teaspoon French grey sea salt
  • 1/4 teaspoon freshly cracked black pepper

Combine the warm water, yeast and sugar in a small bowl. Put the bowl in a warm, not hot or cool, place until the yeast is bubbling, about 10 to 15 minutes. 

In a bowl  combine the flour, 1 tablespoon of kosher salt, 1/2 cup olive oil and the yeast mixture.  Mix with a stiff spatula for a couple of minutes until the dough has come together.

Then, pour the dough out onto a lightly floured board and knead it for at least 6 minutes, adding a sprinkling of flour to the board and to your hands whenever the dough becomes too sticky to handle.  Work until the dough becomes smooth and soft. 


Coat the inside of a large bowl lightly with olive oil and return the dough to the bowl. Cover it with plastic wrap and put it in a warm place until the dough has doubled in size, at least 1 hour.

Coat a large jelly roll pan with about 1/4 cup olive oil.


Put the dough onto the jelly roll pan and begin pressing it out to fit the size of the pan. Turn the dough over to coat the other side with the olive oil. Continue to stretch the dough to fit the pan. After you have stretched the dough to fit the pan, then stab the dough with your fingers.  Stab it all the way to the pan.  Do it again and again.  This is what gives focaccia its characteristic dimpled appearance.
 
Put the dough in a warm place until it has doubled in size, about 1 hour. While the dough is rising a second time, preheat the oven to 425 degrees F.

Liberally sprinkle the top of the focaccia with some coarse grey sea salt, chopped fresh rosemary and freshly cracked black pepper. Bake the dough until the top of the loaf is golden brown, about 25 to 30 minutes. Remove the focaccia from the oven and let it cool before cutting and serving.


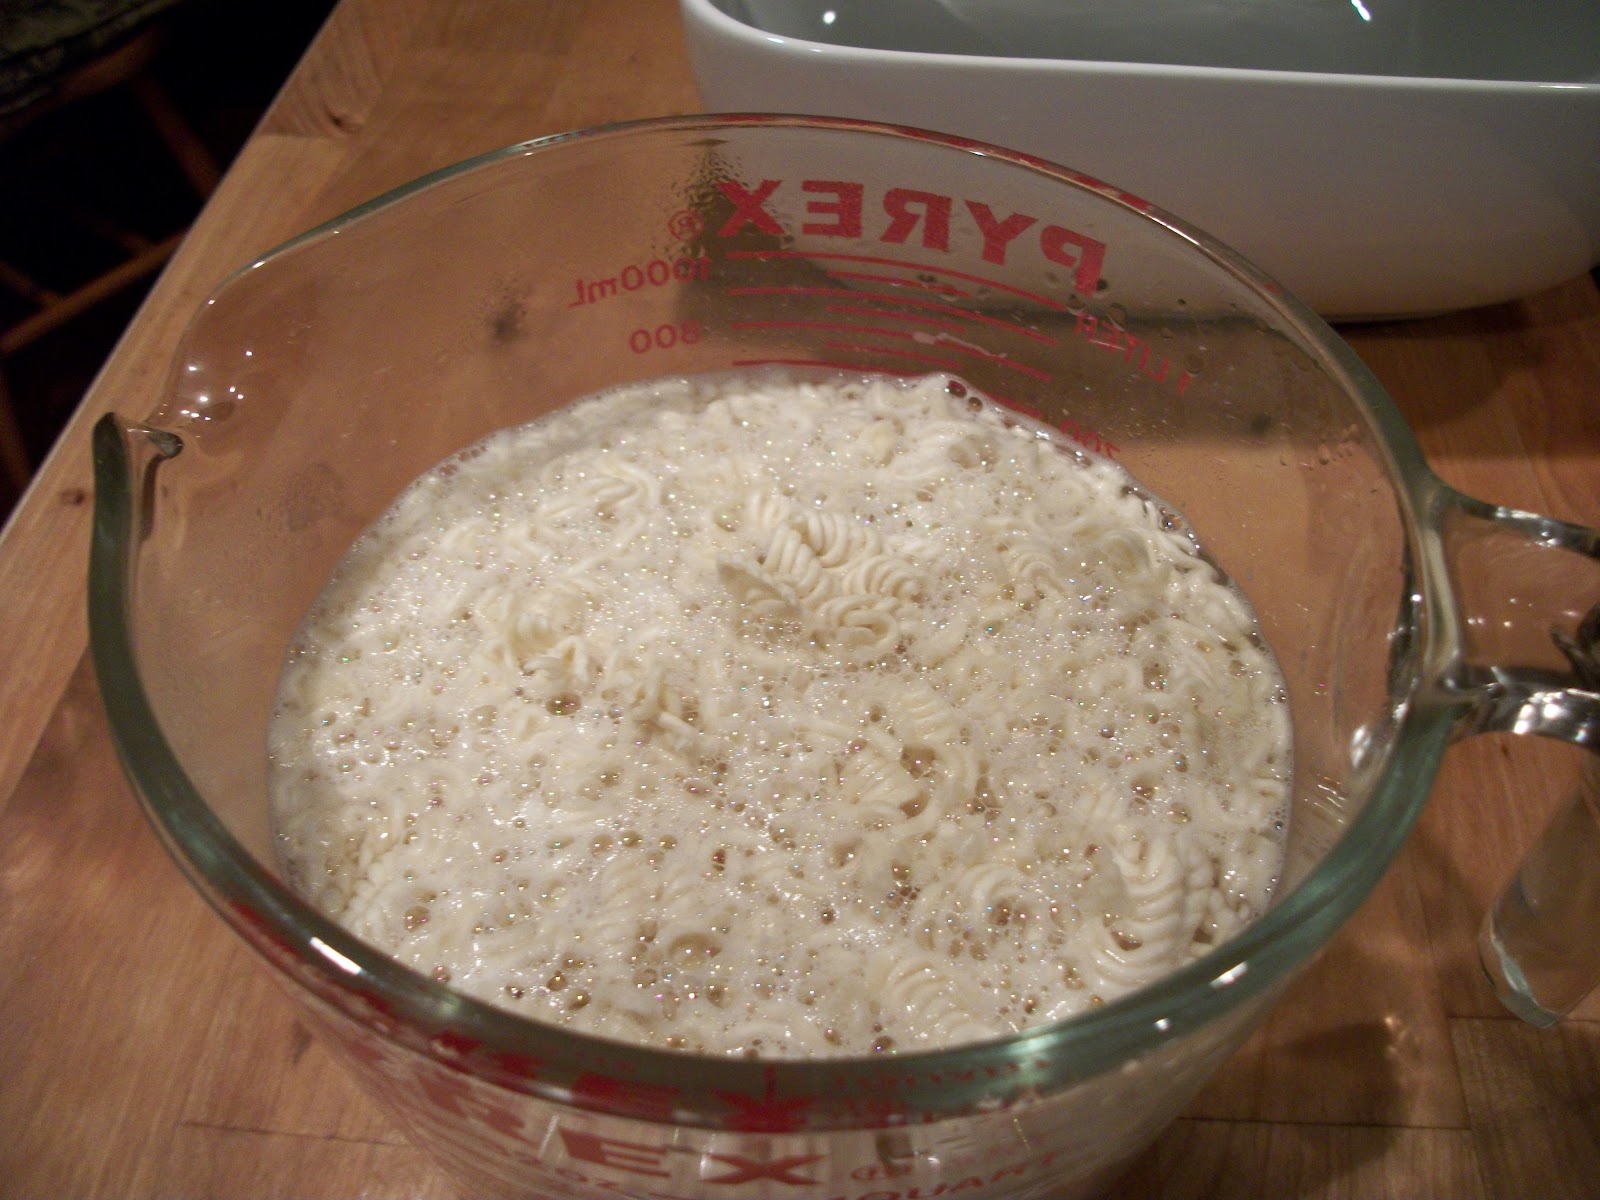
Add the yeast to warm water (100 to 110 degrees Fahrenheit).  Add the sugar and stir.
Allow to sit for 10 to 15 minutes.  If the mixture becomes foamy like above, then the yeast is alive and active.  If nothing happens, then start over with a new packet of yeast.


The recipe directions directed me to mix this with my stand mixer's hook attachment.  The only problem?  I don't have a stand mixer.  Guess I'll be doing this by hand.  I did start out with a firm spatula, though.


Then I switched over to kneading by hand.  Every so often I found that I needed to add a bit of flour to both the board and to my hands to keep the dough from sticking.  I kneaded this for perhaps eight minutes until the dough was smooth and soft.


Then I turned the dough into a greased bowl and set it aside to rise.  It took about an hour or so for the dough to double in size.


Chef Anne Burrell's recipe called for an additional 1/2 cup olive oil being poured into the baking dish before the focaccia dough was placed there.

I started out with about 1/3 cup olive oil in the pan.


 The dough has risen.


And I turned it out.  The recipe directed that I gently, but persistently push the dough out to the edges of the pan.  And this is when I realize that the recipe has a flaw.  Where is all this extra olive oil supposed to go?


Per recipe directions, I turned the dough over, but there was still a great deal of oil left in the cooking sheet and it was threatening to splosh over the sides of the pan.  I decided to drain some of the oil from the pan before baking.

Allow to rest in a warm place for one hour.


One of focaccia's signature features is the dimpled top.  This was achieved by pressing my fingers down through the dough and all the way to the bottom of the sheet pan.*


Before baking I sprinkled 1/2 tablespoon fresh chopped rosemary, 1 teaspoon grey French sea salt and 1/8 teaspoon freshly cracked black pepper over the top.

*No sheet pans or focaccias were hurt in this process.


 Bake at 425 for 25 to 30 minutes. 


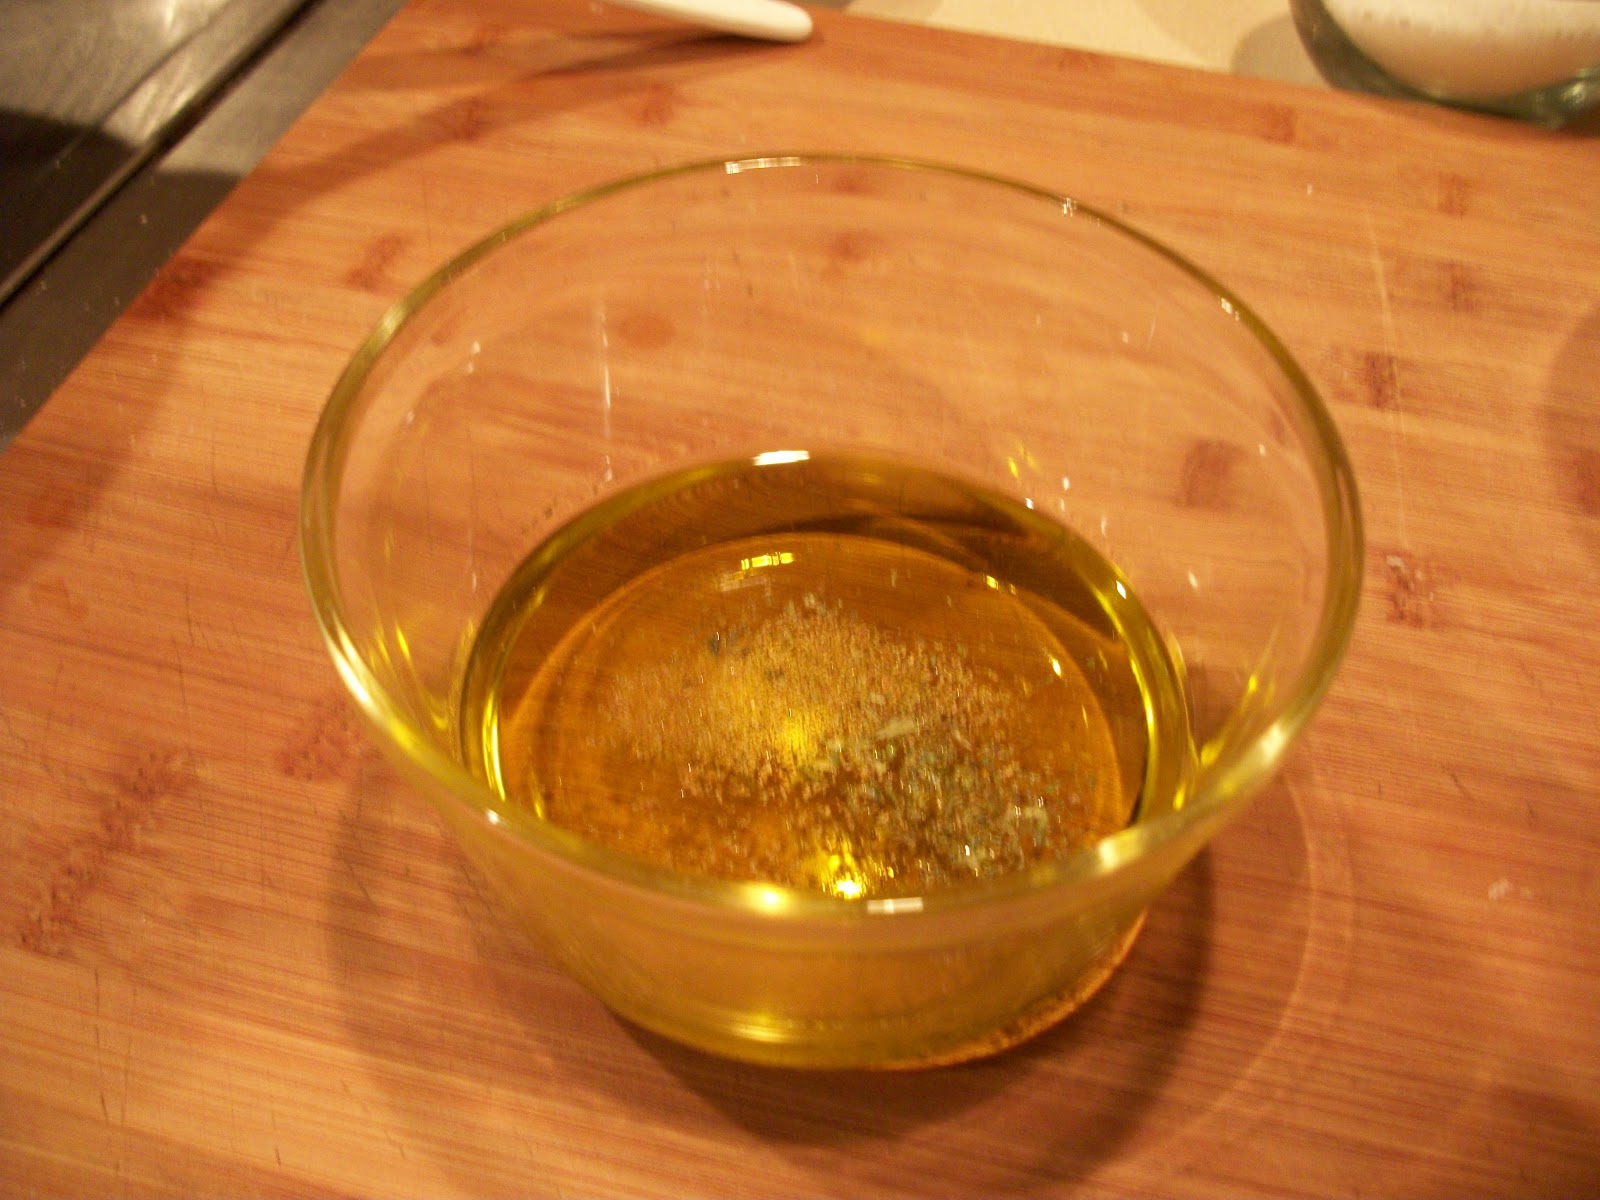
Meanwhile, I heated some extra virgin olive oil, some Herbes de Provence and garlic powder in the microwave for about 25 seconds.


Now we have a dipping sauce for the focaccia.  Many people like to add some freshly ground black pepper and some freshly grated sea salt to the herbed olive oil.


After the focaccia was made it was time 
to turn my attention to the rest of dinner.

I decided to make Baked Stuffed Pasta Shells.
So the first step was to make Ricotta.
Once again I am using Ina Garten's recipe for 


2 cups vitamin D milk
1 cup heavy cream
1/2 teaspoon kosher salt
1 1/2 tablespoons white wine vinegar.

Set a large sieve over a deep bowl.  Line the sieve with two layers of cheesecloth that have been dampened with water.

Pour milk and heavy cream into a heavy pot.  Add the salt and heat over medium heat until boiling, stirring often.  Turn off the heat and add the vinegar.  Stir and let sit for one minute.

Pour the mixture into the sieve and allow the mixture to drain at room temperature for at least 30 minutes.  The longer it sits, the firmer the ricotta will be.

Remove the ricotta to a container and discard the cheesecloth.  Cover and refrigerate for up to four to five days if not using immediately. 


The sieve and cheesecloth are ready.


After the mixture has come to a boil
the vinegar is added.


The whey separates from the curds.


Notice how much is in the sieve at the beginning.


After 30 minutes the whey has drained,
leaving only the curds,
or ricotta.

Now I can make the rest of dinner.


I found a recipe online that I kinda, sort of followed.
The ingredients listed below are what I used for the dish.

Baked Stuffed Pasta Shells

24 jumbo pasta shells
3/4 cup mozzarella cheese, grated and divided
1/2 cup Parmesan cheese, grated
2 cups ricotta
1 large egg
1/4 teaspoon black pepper, freshly cracked
1 clove garlic, grated
1 teaspoon dried parsley
1 teaspoon dried basil
3/4 cup pasta sauce

Bring water to a boil in a large pot.  Add 1 tablespoon kosher salt and the pasta shells.  Cook according to package directions.  Drain and cool immediately with cool water.  Drain and place open side down on paper towels.

In a medium bowl, combine the rest of the ingredients except for 1/4 cup mozzarella and  the pasta sauce.

Preheat oven to 375 degrees.

Place a thin layer of pasta sauce in the bottom of a 11 x 7 x 1.5 inch baking dish.

Spoon the cheese mixture into the shells and arrange, open side up in a single layer in the baking dish.

Pour the remaining sauce over the shells.

Cover loosely with foil and bake for 35 minutes.

Remove foil and add the remaining 1/4 cup mozzarella cheese over the top.  

Bake 5 minutes more.


The shells have been cooked and are now cooling off.


Stuff and place in a baking dish that has been coated 
with a bit of the pasta sauce.


The shells are stuffed.


And now they are covered.
Bake according to recipe directions.


And dinner is served.


This is the best focaccia I have ever eaten.
It is not dry like most focaccia I have had at restaurants.

As a bonus, it was also very easy to make.

The stuffed shells were also good.
I loved the flavoring in the stuffing.